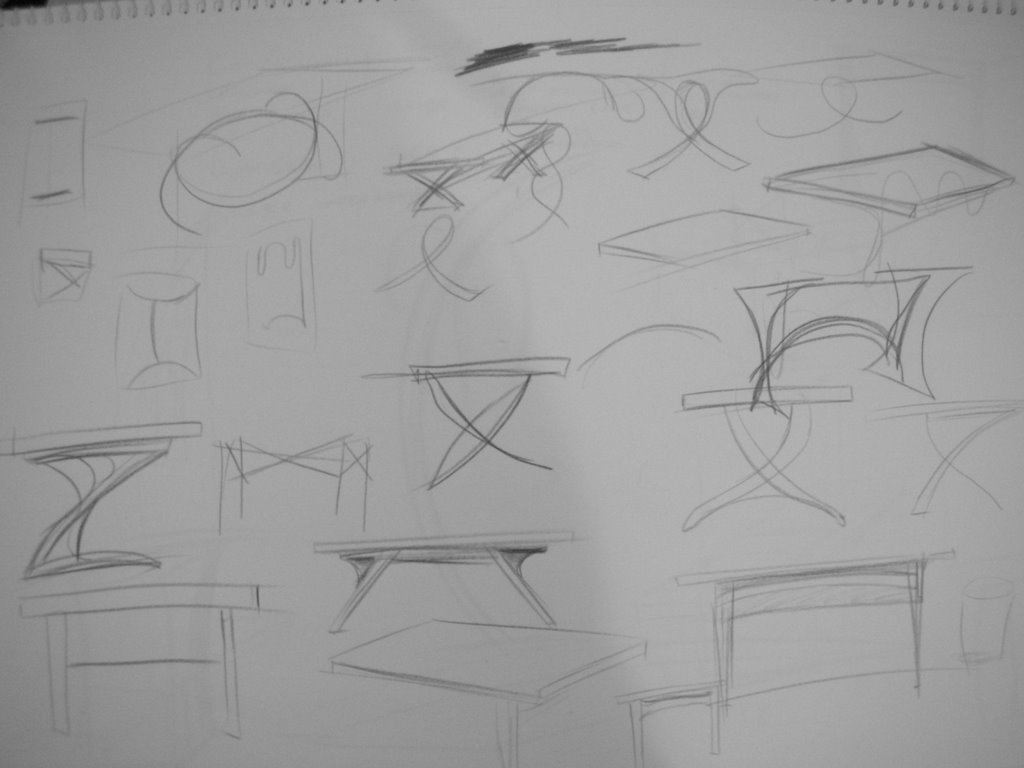
I thought it might be interesting to show how I bring my projects from concept to reality. Below is a page from my sketchbook.

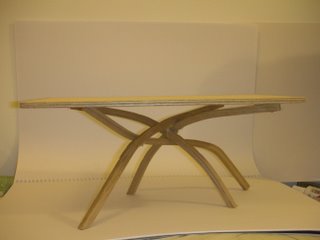
I find that by sketching quickly and not getting hung up on details I generate more and hopefully better concepts. Sometimes even a mistake or scribble can inspire another concept. These sketches were for the table shown below.
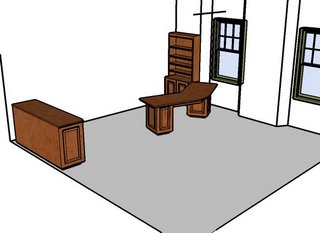
Normally the client doesn't see my sketches, they are usually presented with a maquette or 3D rendering of the piece. The 3D rendering below is for the office suite featured in a previous post. The rendering made it possible for the client to see how the suite of furniture would look in situ.
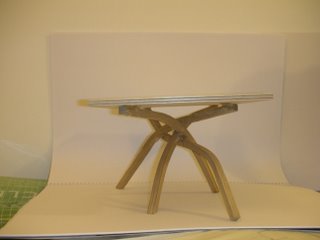
I use the maquettes to model up pieces that are visually or technically quite complex. As you can see the maquette shown is a fairly quickly made model but it really helps in visualising and fine tuning the design. This design will more than likely not get to the full mock up stage. What will probably happen is that the design for the table will evolve during construction. This can be a little risky, as any problems encountered e.g. in the jointing of the legs will have to be resolved carefully and quickly.
This project will be going ahead in the coming days and weeks and I will be posting images and comments on the production process in part two of the series. The legs are going to be steam bent white oak and the top is chestnut and elm. I'm off now to build a steamer.